Sardinia Bay Golf Club’s highly-competitive fees and subs mean everyone can enjoy a round without breaking the bank.
-
-
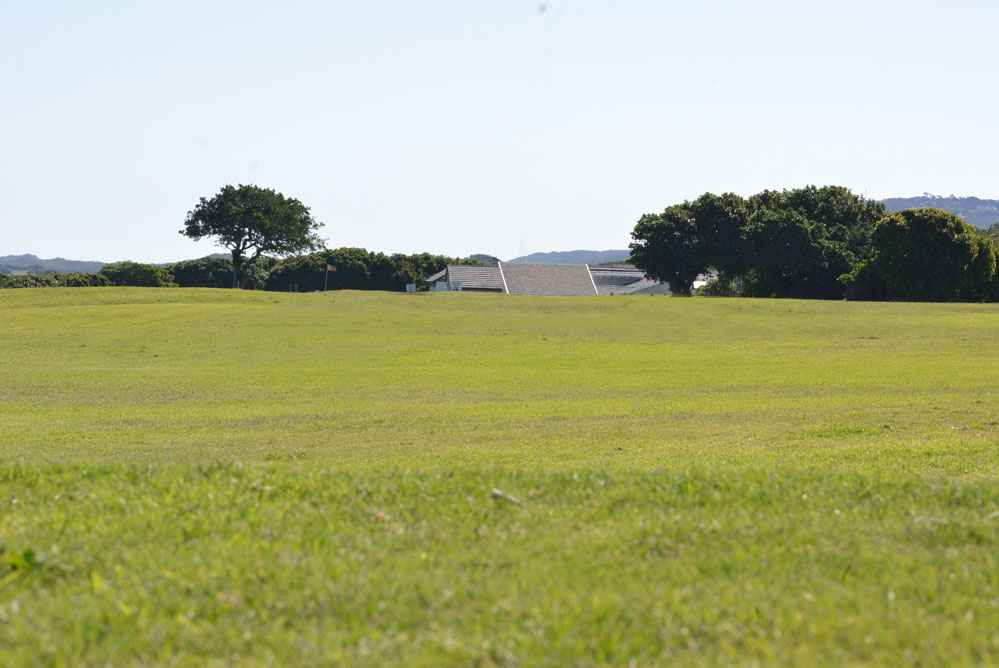
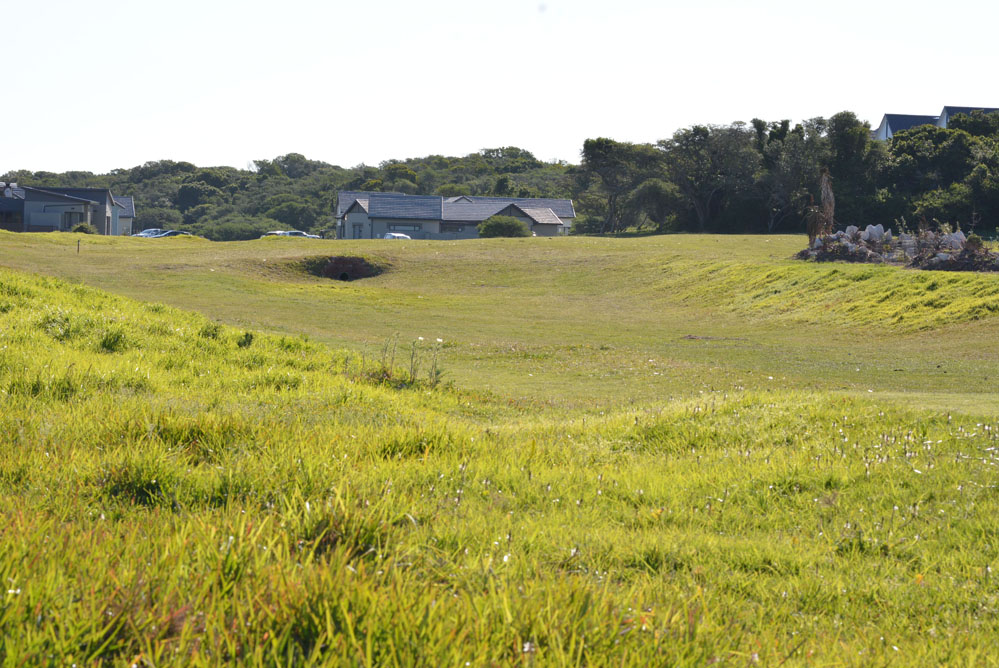
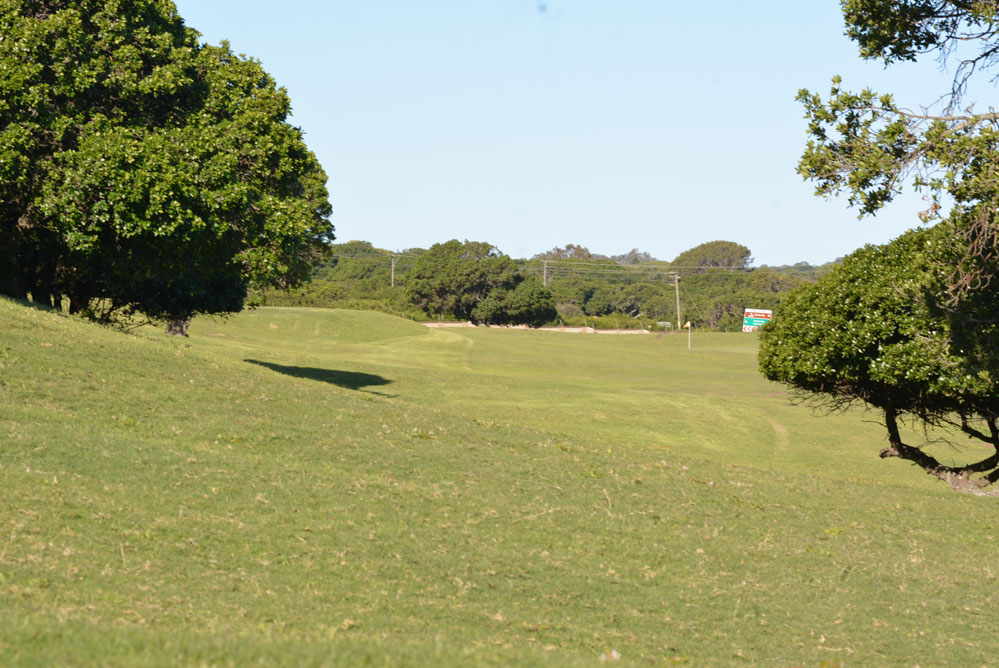
1 & 10: Bushes right of green
 1st
1st 4
4 17
17 240m10th418225mThe round opens with a fairly straightforward par-4, particularly when the westerly is blowing. An easterly makes it much more challenging.
-
-
-
Holes 2 & 11: Left water trap
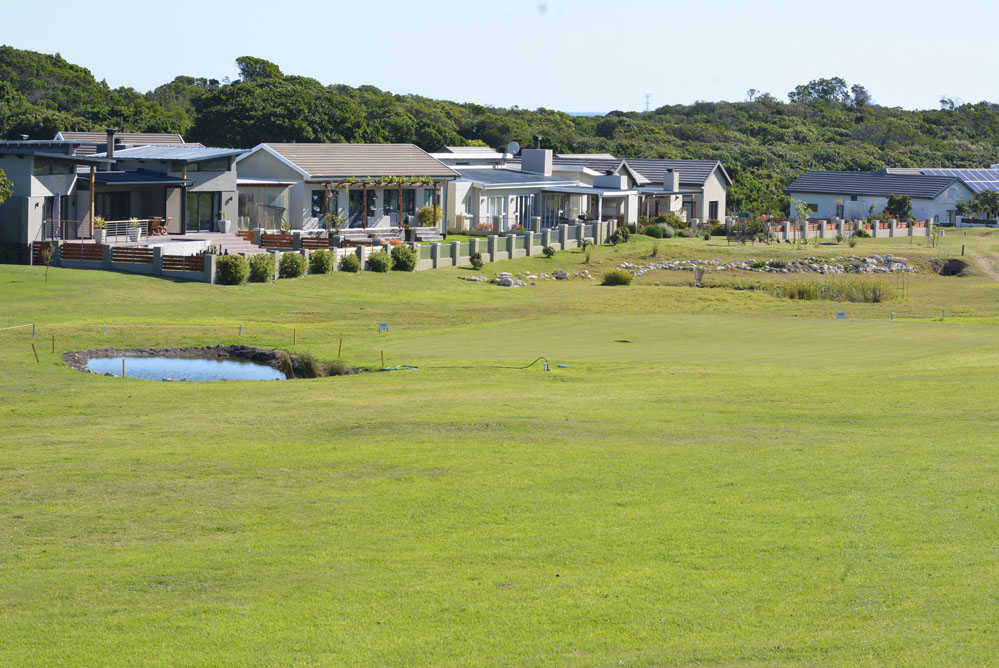 2nd313145m; 120m11th314135m; 105mThe second hole provides two tee-off options, with the front offering a chance to attack. Downhill to the green but look out for the water trap on the left.
-
-
-
Holes 3 & 12: Toughest hole
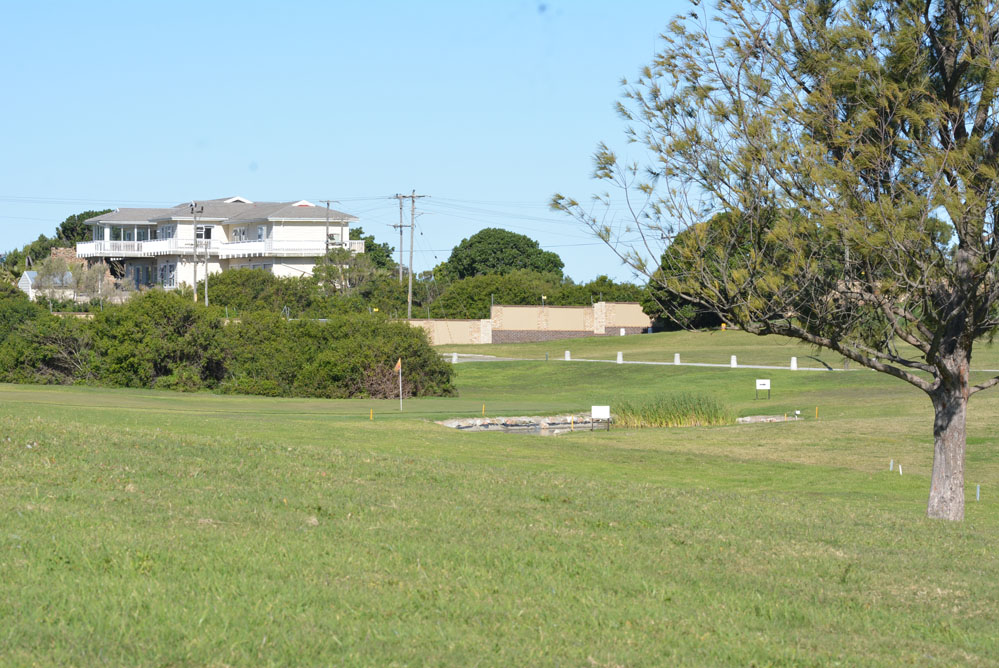 3rd41360m; 278m12th42295m; 228mA strong challenge into the prevailing westerly. A tree needs to be negotiated in the fairway and a water trap guards the right side of the green.
-
-
-
Holes 4 & 13: Raised tee-box
 4th311157m13th312152mLooking down onto a fairly large green from the tee box presents a good par opportunity, but beware of a westerly blowing in from the left side.
-
-
-
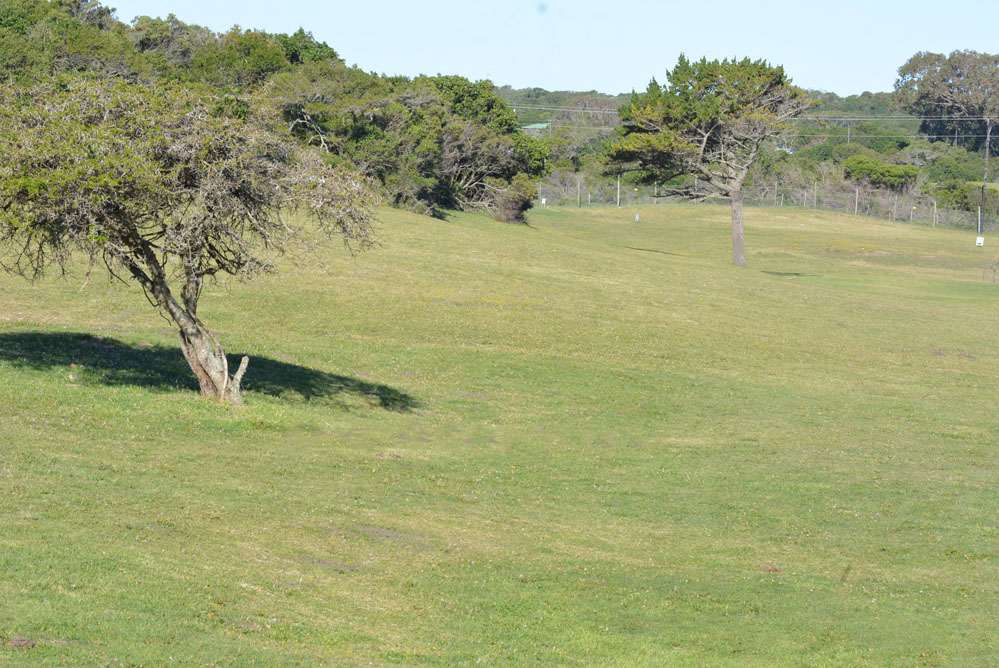
Holes 5 & 14: Driving accuracy
 5th45298m; 243m14th46290m; 228mThis hole will test you as a garden feature guards the right side. Rough and bushes to the left. Get a free drop from the garden and fairway drainage system.
-
-
-
Holes 6 & 15: Dogleg left
 6th43338m15th44328mThe big hitter can challenge the bushes which jut onto the fairway from the left. Otherwise play safe and target the right side of the fairway.
-
-
-
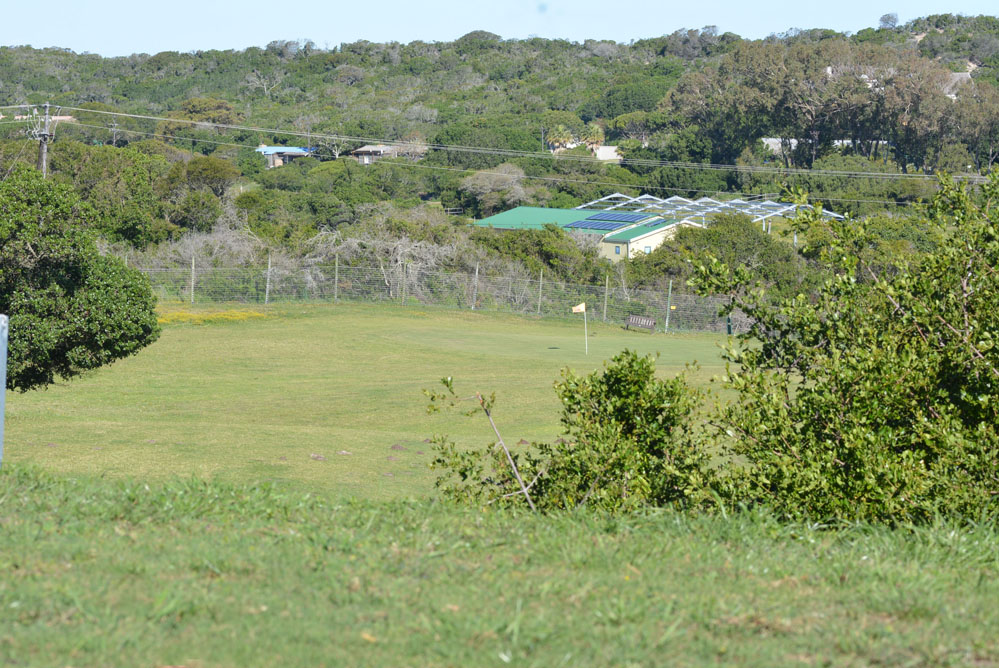
Holes 7 & 16: Narrow approach
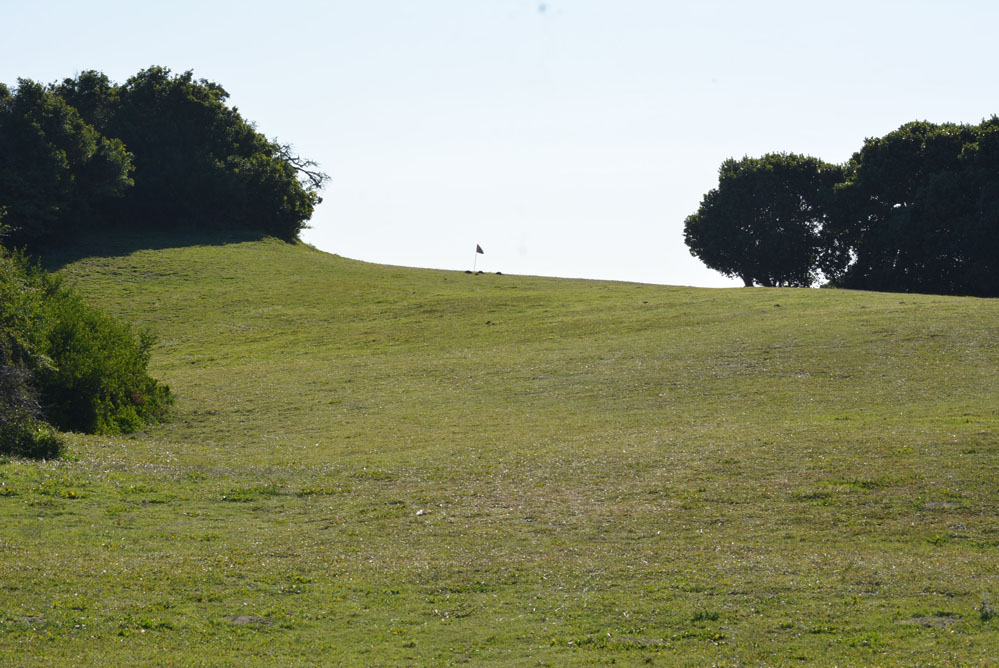 7th37170m16th38172mThis lengthy par-3 is uphill all the way and has bushes left and right short of the green. The green slopes left to right so the right line is everything.
-
-
-
Holes 8 & 17: Below the hole
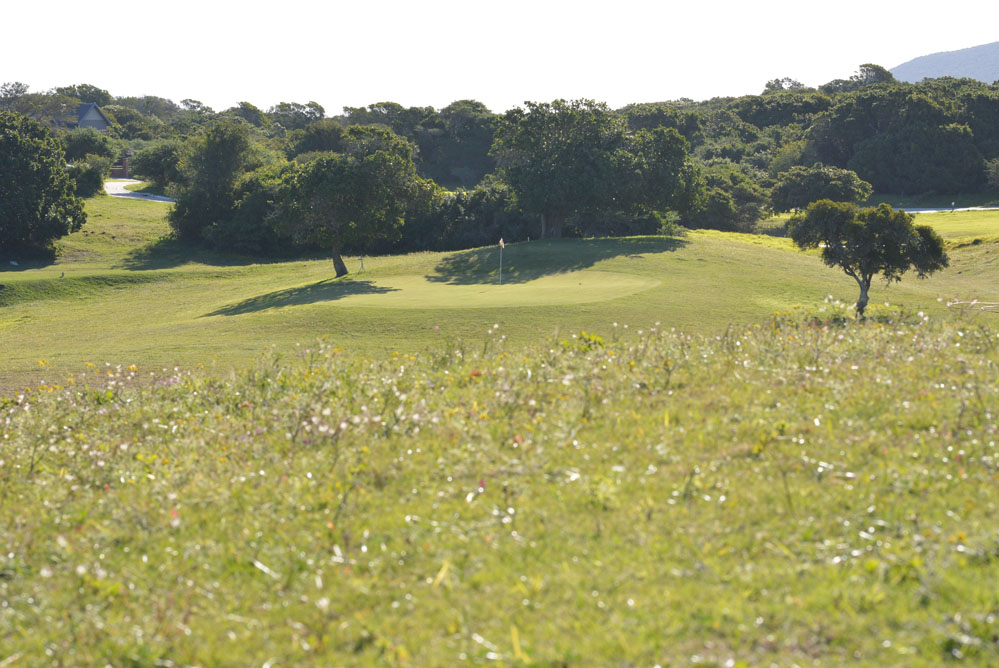 8th39174m17th310160mAnother lengthy par-3, but the approach area is wide open. However, position is key for the tee shot as the green slopes from back to front.
-
-
Holes 9 & 18 – Friendly finish
 9th415260m18th416285mThis is a fairly comfortable finish to the round, except when a strong westerly is blowing. But a generous fairway provides some leeway.